|
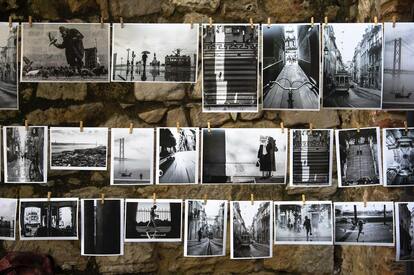
Do you have boxes of photos, videos, and other media sitting around your home, vulnerable to the elements? You’re not alone - it’s quite common for people to inherit photo and media collections from loved ones, often thrown in a box without proper storage considerations to preserve those precious family memories. Maybe you’re considering getting those photos organized and cataloged for the family, but the task seems overwhelming and daunting. If this sounds like your situation, it might be reassuring to know that your collection can get organized and become accessible for you, your family, and future generations. Knowing where to begin is often the largest obstacle - here are some tips for getting started:
Imagine your ideal situation Before getting started with a large project, it’s helpful to take a look at the big picture and imagine what your ideal situation looks like when you’re done. This acts as a compass to lead you through. Think of your own life as well as your family history as a series of stories, and how you’d like to tell them. How do you picture yourself and your family accessing your photos, videos, and other memorabilia? The options are seemingly endless, but what matters most is that you choose options that work best for you and your family. Some ways people like to honor their memories are:
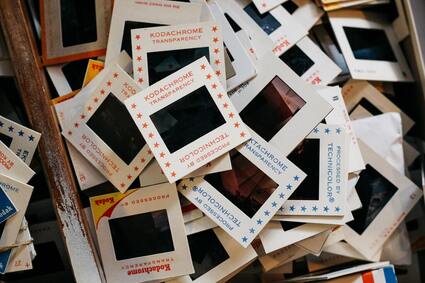
Hunt and Gather Many people have inherited photos, slides, film reels, and family documents from loved ones who have passed, and as a result, these are squirreled away in little pockets throughout the house. Before starting, I believe it’s best to gather everything you’d like to organize into one central location, and this includes digital media. For digital media, do your best to get everything onto one computer, with at least one backup. If that’s not possible, do your best to list and locate the devices that are holding media. You may need to have conversations with family members - for example, if your sibling has all the slides from a family trip long ago, let them know of your plans. Who knows, you might even get help with your project! Sort by Media Type Group by type - all photos together, slides, film reels, VHS, correspondences, family history documents, and digital formats. This crucial step will be your way of taking inventory of each category - your big picture view. Getting a good look at everything helps you decide how you want to break this large project down into smaller, more manageable projects. Choosing the format you’re most eager to work with could be a good jumping off point - we have to start somewhere! Have you gotten your family photos and memorabilia in order, or is this a project for your to-do list? What does your ideal situation look like? I’d love to hear from you!
1 Comment
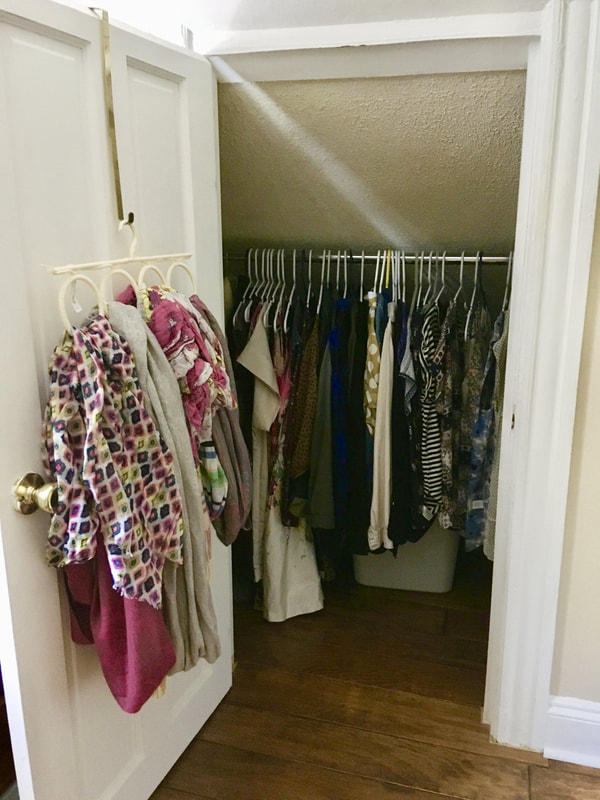
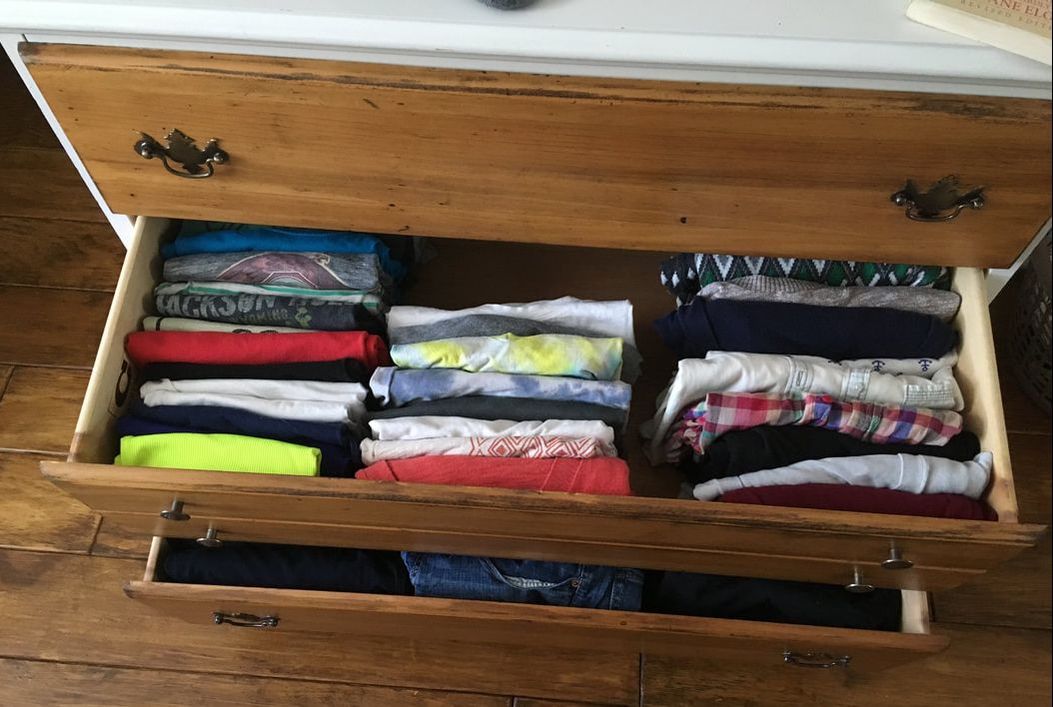
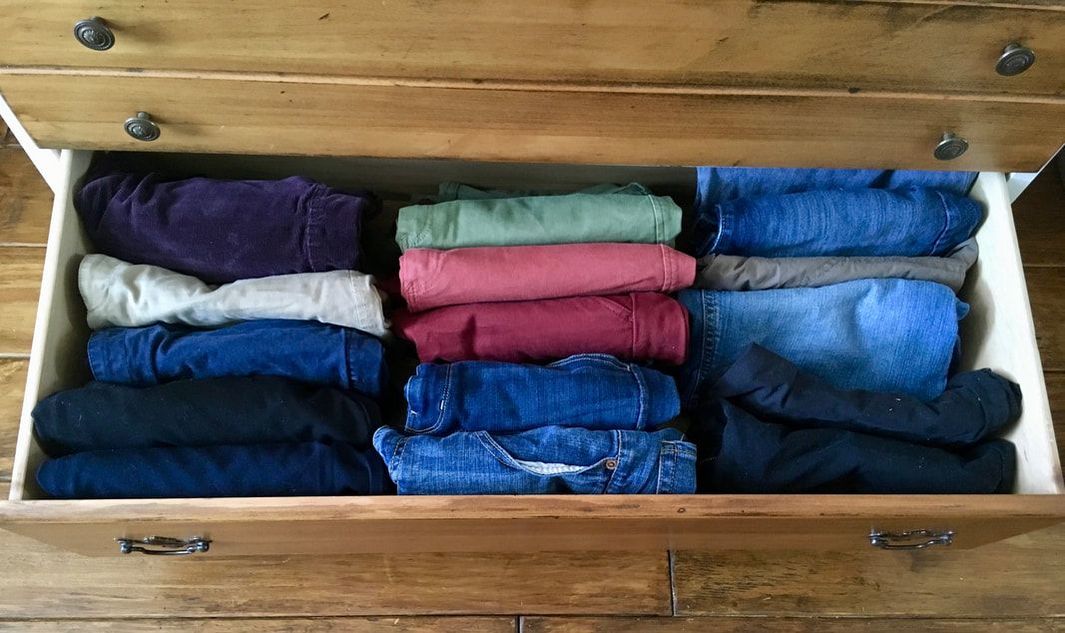
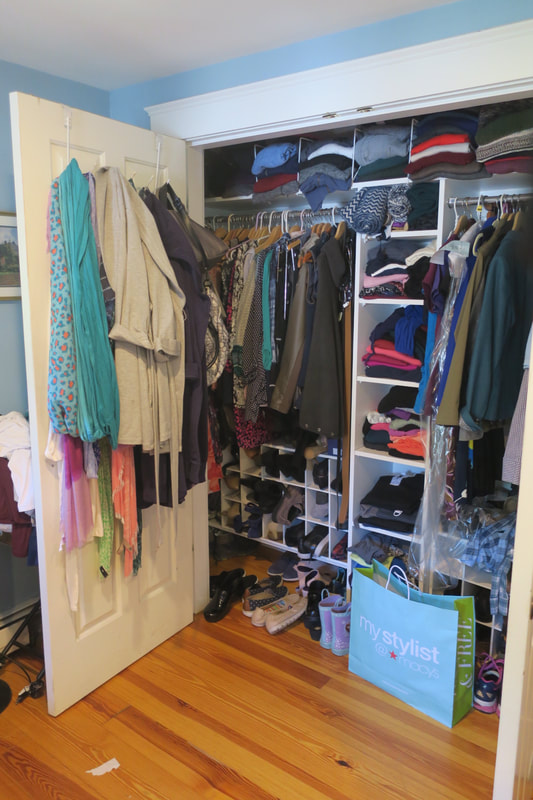
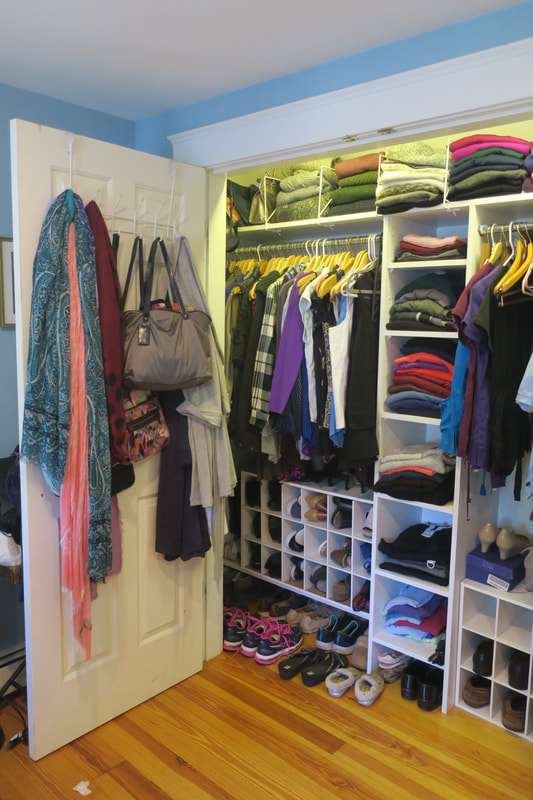
Sorting through and paring down clothing is usually the first project I take on with my clients. Before getting started, we talk about what they’d like the end result to look and feel like. An ideal situation is described - the volume of clothing needs to be reduced so that all of it can be hung up and put away in drawers, with no overflow hanging around. One of the most common questions I get is, “How do I know how much I need, and how will everything fit in my closet/drawers?” This tidy and functional scenario can be hard to imagine, especially if items of clothing have made themselves comfortable in all areas of the home. There are a few varying factors - the size of the space, lifestyle, habits, and local climate determine how much we need. The ideal situation looks different for everyone, but everyone is capable of achieving the goal they’ve envisioned for themselves! The less space you have, the less you can keep, but you’ll still have enough. Many homes here in New England are 100+ years old. When those closets were designed, the typical person only had a few quality outfits. In my opinion, this is an advantage - there’s less maintenance and fuss involved, which frees up more time for fulfilling pursuits! A view of my closet, in my home built in 1920. The door is 5ft tall, and the bar hangs at about 4ft. I use two sets of drawers to store everything else - pants, shorts, t-shirts, sweaters, and underwear, for all 4 seasons. Ready to reduce your clothing but feel like the task is too daunting? Here are some tips for breaking down the process: 1. Consider your lifestyle. What do you wear to work? What activities do you need appropriate clothing for? How many pieces do you realistically wear for each activity? How many special occasions do you attend per year? Considering these questions before you get started and focusing on what you’re keeping will help your decision making when it’s time to sort through everything. 2. Designate areas for three piles - KEEP, DONATE, RECYCLE: As always, I encourage others to keep as much as possible out of the landfill. Donate what can be worn, and recycle clothing with stains or holes. Many municipalities offer textile recycling, and most H&M stores offer a program as well. 3. Take everything out. If taking out your whole wardrobe at once is overwhelming, gather items by category - work on t-shirts one day, pants another. Just make sure you look through every single piece by the time your project is done - nothing gets a free pass! 4. Make a decision for every single item, and be as honest as possible. Your favorite pair of jeans, tops that fit just right, the jacket that pairs with almost any outfit - those pieces that you love and wear regularly are an easy keep. It’s important to let go of guilt and be honest - it’s no fun to be sifting through closets and drawers full of stuff you don’t wear just to get to the pieces you like and use. And remember, generously passing along clothing you don’t love to others in need makes a positive impact on the local community! 5. Group like items together, and put them away! As an organizer, this is the fun part! Folding sweaters into a drawer knowing how easy it will be to access them later gives a nice sense of accomplishment. 6. Maintain the system: Fold/hang up and put away clean laundry as soon as you can after each cycle, and try not to let it pile up for too long. 7. Carefully consider future purchases: Purchasing items of clothing just because they’re on sale shouldn't automatically grant them a home in your wardrobe. Make sure you actually need something and that you look and feel great in it. Otherwise, leave it behind for someone else - this takes some discipline but you’ll feel empowered after practicing it a few times! A client was looking for some help with reducing her clothing in order to access everything with ease. She was happy to report later that she had no trouble picking out an outfit for a special occasion that came up at the last minute! Sometimes, decision making gets exhausting and difficult, and we don’t quite hit our goal the first time around. Resolve to come back to the project when you feel confident that you can reduce more, and try not to make any new purchases during this time. Don’t forget to congratulate yourself for all the hard work you put in to make your wardrobe more easily accessible, and enjoy everything that you keep!
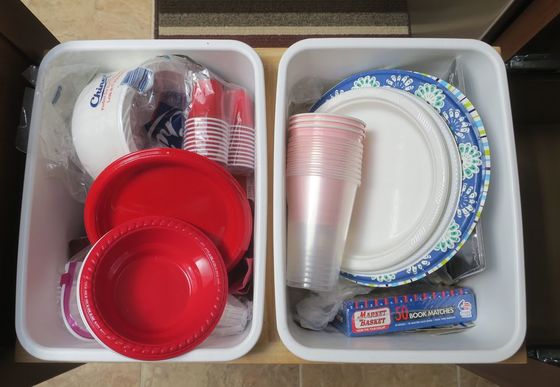
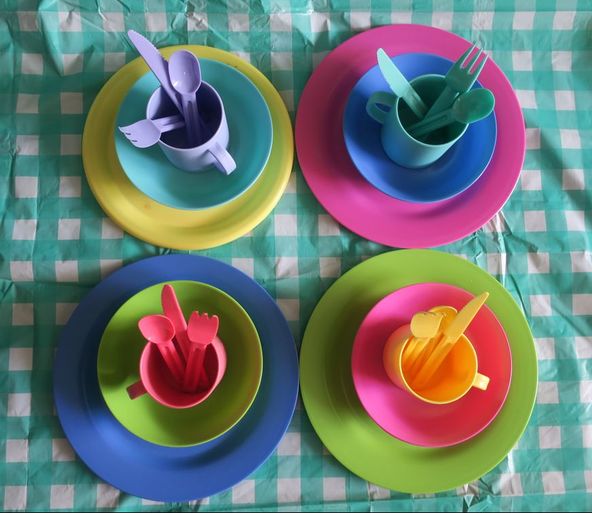
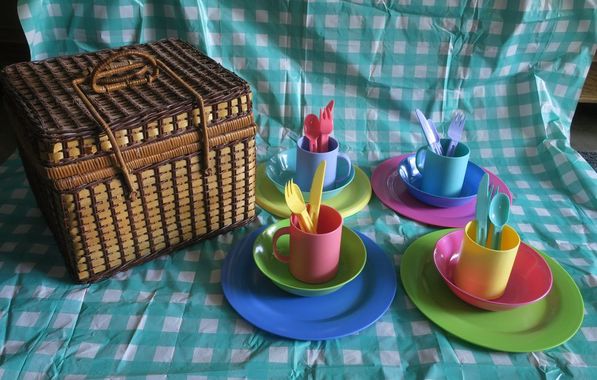
In Simplicity, Elena Hooray for warm sunshine! For many of us, Memorial Day weekend marks the beginning of Summer. This is the start of a season full of outdoor gatherings with family and friends. In my family, we go camping, to the beach, and take turns hosting outdoor meals at each other’s homes. It’s all too easy to accumulate packages of disposable cups, plates, and cutlery. We’re at the store before the big weekend and think, “Hmmm…do we have enough forks? Did we finish that last package of plastic cups? When we get home, we find there were drawers and cupboards stuffed with these disposables: half-opened, mixed, and scattered around. As you can imagine, this habit can get pricey if you host often. What’s more, all these extras awkwardly take up precious space, both in our cabinets and as excess waste in the landfills. I recently worked with a woman who enjoys hosting cookouts in her beautiful outdoor entertainment space. She wanted to organize her kitchen as soon as possible. The warm weather was approaching and her house was the go-to for parties. The goal was to make entertaining less overwhelming and figure out a simple system to make set-up and clean-up easier. While sorting, we came to her built-in trash and recycling drawer full of the entertaining disposables I mentioned. She wanted to empty the bins, open up floor space, and use the drawer for the intended purpose. Instead of continuing to use disposables, I suggested acquiring a set of re-usable party ware. She had some pieces already, and bought the rest to create a cute, colorful entertaining set. There happened to be an appropriately sized container on hand that made a wonderful home for all the pieces, and it fit snugly into the hall closet. Now, what she needs for events is always there: no more last-minute guess work on what supplies are needed, and no more overflowing trash barrels sitting next to the picnic tables. As for the washing up, I borrowed a little idea from my days working at a Montessori school to keep it simple. She would place a bin with hot soapy water on a table next to a trash can. Guests would scrape their scraps into the can and put their dishes into the soapy water. At the end of the night, the party host could simply pour out the water, and toss the dishes into the dishwasher - the guests did the rinsing! Here are a few considerations if you’d like to try this out:
Let us know - do you entertain and have a system that works well? Are you inspired to give it a try? We’d love to see photos and learn new ideas, feel free to comment below or send us a message! Happy hosting! Elena |
Archives
February 2021
Categories |
|
Elena DaFonte Professional Organizer, East Providence, RI e-mail: elena@simplelivingstrategies.com phone: (617) 930-0577 hours: Monday - Friday, 8am - 5pm |
©2024 Elena DaFonte
 RSS Feed
